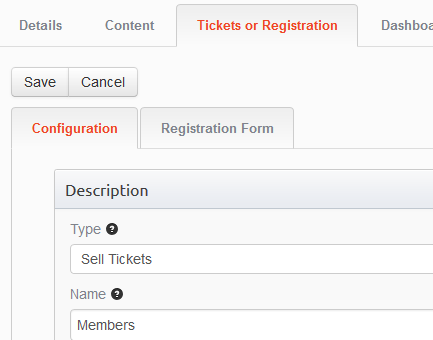
Start by editing the ticket/registration item within the event you wish to attach the Registration Form to.
Then click the Registration Form tab.
You’re now in the Drag n Drop form editor. Changes you make will be saved immediately as you make them.
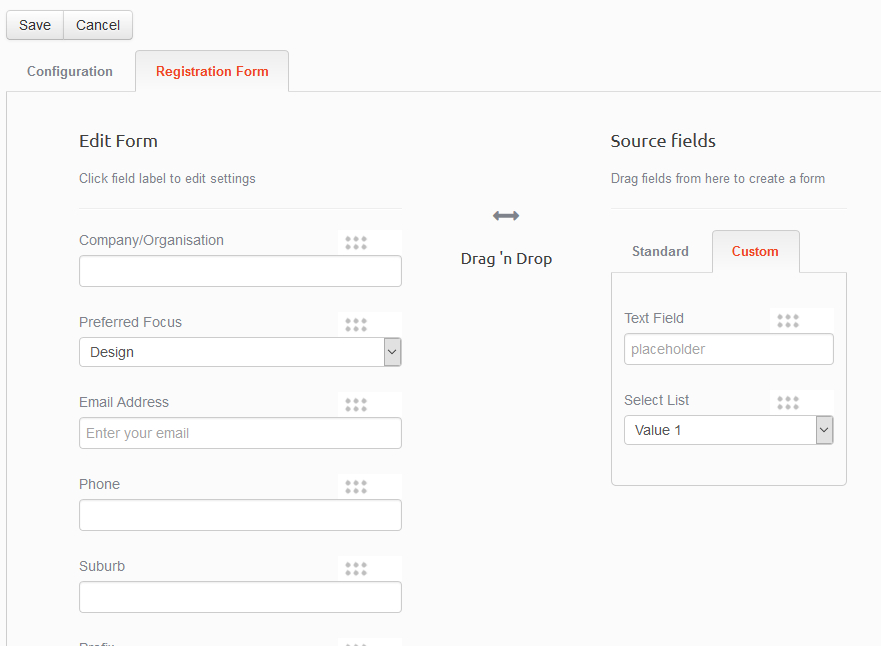
You can drag and drop fields from the Standard and Custom field tabs on the right to the form you’re creating on the left.
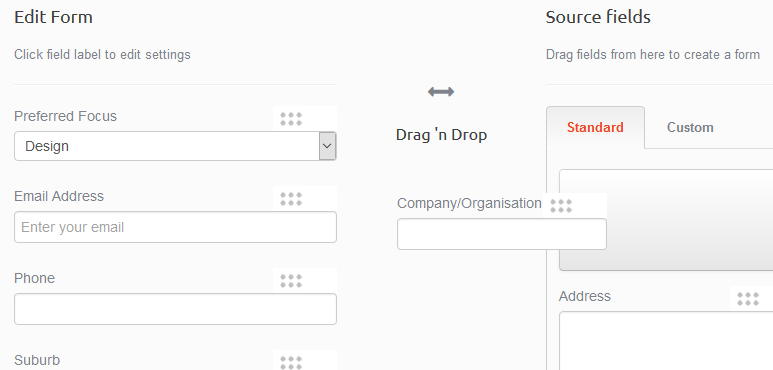
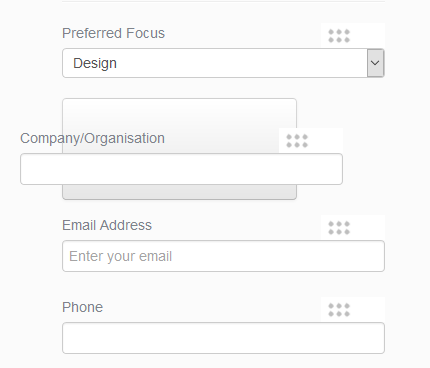
You can also use drag n drop to shuffle the order of fields on the left.
Select the Custom tab to access customisable fields. Drag n drop these into place as many times as you want.
Click on the field label to open the field options.
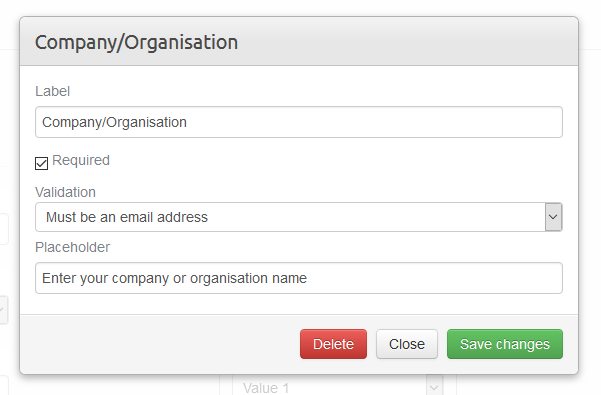
From here you can set the field Label, the Placeholder text (which appears where the field value is entered until the user starts entering data).
You can also choose whether the field is Required (meaning it must always be entered) and pick from several standard kinds of Validation that let you control the type of information that can be entered into the field.
When you’re done you should Save the ticket or registration item if you’ve also made changes to the Configuration tab.
